
How do I dye my baseball glove is a question I get asked quite often. I will tell you how to dye your baseball glove in this post, but first let me make a bold statement:
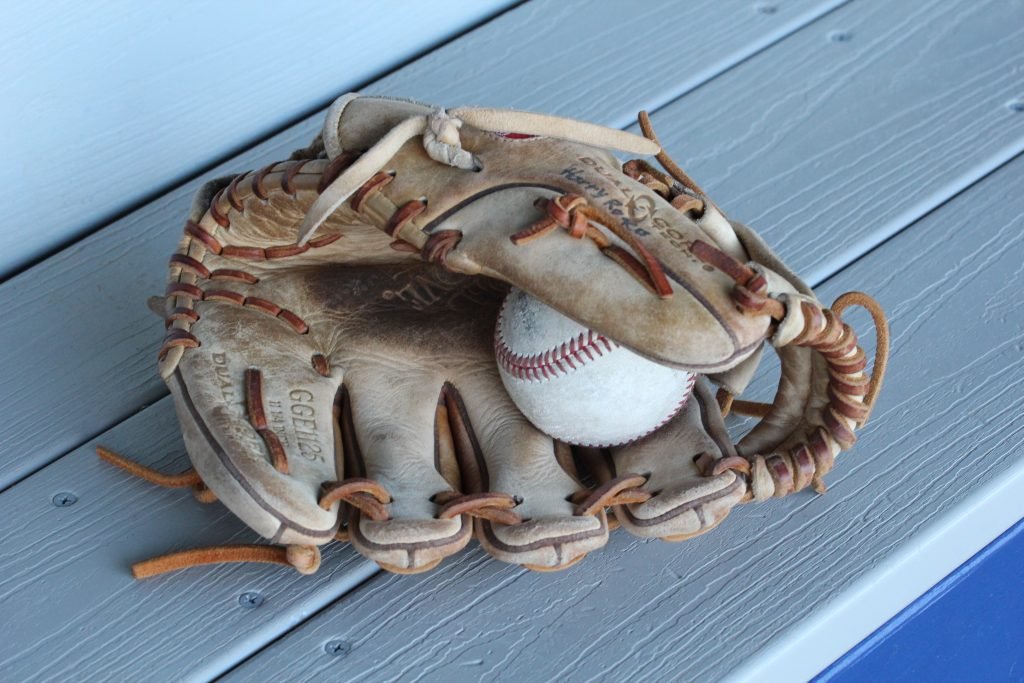
Sure, they are just another piece of equipment that is meant to be used, but somehow a baseball glove is more than that. The leather around our hands feels soft and once the baseball glove is broken in properly, it feels like a part of our body.
Nevertheless baseball gloves tend to show some marks of usage after some time. If you do not take proper care of them, the leather might start to crack and lose a lot of color. Your once beloved baseball glove is just a shadow of itself after some time. But don’t worry, you can make it look brand new again!
In this post I will tell you how to dye your baseball glove again. If your glove is cracked or you just want to give it a deep reconditioning, you should make sure to read this post.
Dyeing your baseball glove takes some time and patience, but it is surely not something you need to pay an expert for.
Let’s take a look at all the necessary steps you need to take in order to bring your beloved baseball glove back to life.
First step: Disassemble your glove
You want to disassemble your glove as much as possible without harming it in any way. This makes the cleaning process much easier and will lead to a much better end result.
This means, that you want to remove the laces, all padding and all tags.
Second step: Take some pictures
Okay, I admit that this step is not necessary. But it is a lot of fun to compare your dyed glove to old pictures of it. It shows you what you have accomplished and you can be proud of yourself. Don’t skip this step here. 🙂
Third step: Clean your glove
Back to the crucial steps: Cleaning is a very important part of the dyeing process. You do not want to dye a dirty glove, as the dye will not penetrate the leather fully and the glove will not look as good as it could.
In order to clean the glove properly, start with a soft brush and light pressure to get all the dry and loose dirt of the glove. After you have done so, start with a sponge and a suitable leather cleaner.

After you have done your best to clean your glove, let it dry until it is completely dry.
Fourth step: Wipe the glove down with alcohol
I know this might sound strange. Won’t alcohol dry out the leather and destroy your glove?
No, it will not. Don’t worry. If you use cleaning alcohol this is. Don’t use vodka or whiskey please.
Alcohol will actually give your glove a very deep cleanse, open up the leather pores and remove the factory finish of your baseball glove. This is necessary for the dye to penetrate the leather. If you skip this step, the dye will dry on top of the glove and not inside the leather. This means that the durability of the color is much worse and you will have to redye your glove in no time.
After you have rubbed down your glove with alcohol, make sure to let it dry again. The glove has to be dry before you can continue the redyeing process.
Fifth step: Dye your glove (don’t forget to wear gloves!)
Now the fun part begins, the actual dyeing part. The only thing you should know for applying the dye is that it is better to work in layers than to just drown your glove in dye.
Take your time to dye your glove properly. Apply multiple layers of dye. This will look much besser and the leather will have time to absorb the dye.
Sixth step: Hang and dry your glove
After you have applied the dye to your baseball glove it is best to let it dry while it hangs. You can use a dress hanger to hang your glove.
Hanging your baseball glove makes sure that it dries evenly.
Seventh step: Buff your glove and prepare it for the sealer
Take a new microfiber towel and start buffing your glove with it. Make sure to get all excess dye off the glove. If you are sloppy during this step, the sealer might not work correctly.
How do you know if you have buffed off all excess dye? Check the microfiber cloth. If there is some color on it, you have to keep buffing.
Eighth step: Apply sealer
After you have buffed your baseball glove and everything is ready, you still need to apply a sealer to seal to color. Just follow the manufacturer’s directions and seal the color.
After you have applied the sealer, let it dry and then buff the glove in order to give the glove a nice finish.
Ninth step: Relace your glove
Well, this is pretty self-explanatory. If you do not relace your glove, you cannot use it again.
“How do I dye my baseball glove?” I hope this post helped you answer this question. As you can see, it is not rocket science, but it takes some time and patience.
Have you ever redyed your baseball glove? What were your experiences?
Let me know down in the comments below!
Get home safe,
Jan